Batten Wall Soundproofing – 100mm Thickness
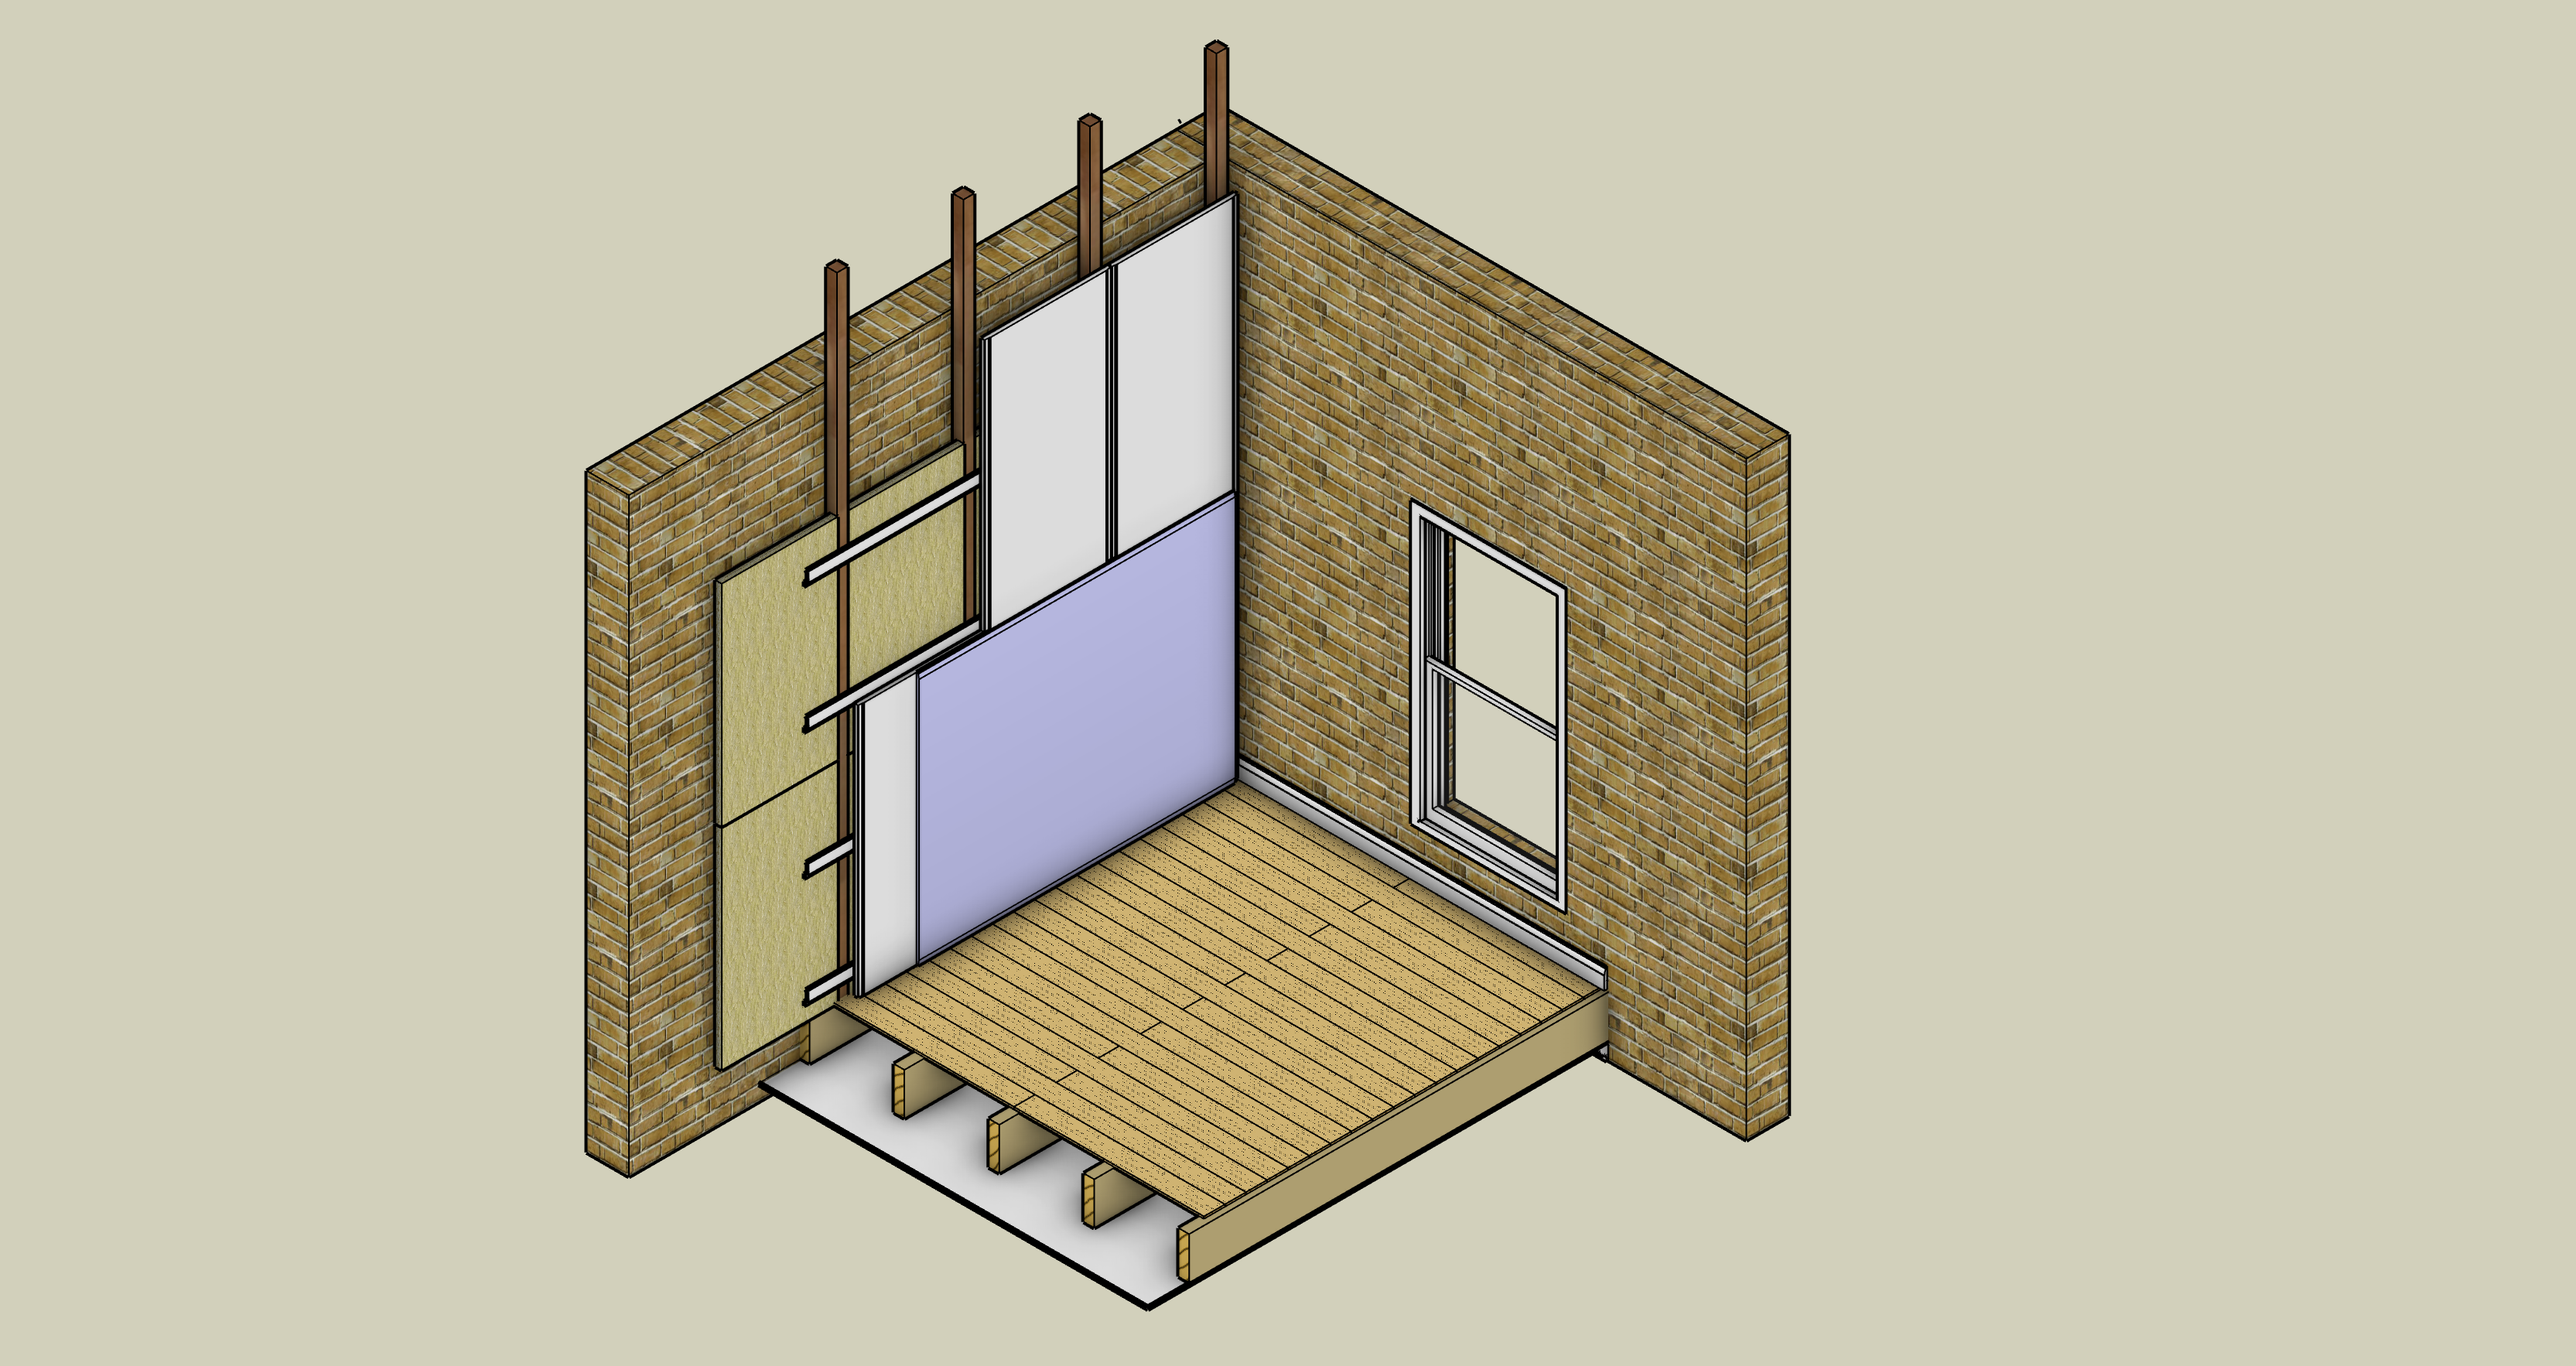
The board and batten technique is taking the home improvement world by storm. Many people are putting their DIY skills to the test by creating a focal point with exposed boards. Adventurous DIY lovers are even improving their home insulation and soundproofing with fully boarded walls.
With the right planning and tools, it’s a cost-effective, one-person DIY job that can transform your home.
However, if the thought of DIY fills you with dread then fear not, because we can give you all the advice you need.
Soundproofing is our speciality, so if you’re specifically looking to soundproof your home or workspace we’re here to give you all the information you need.
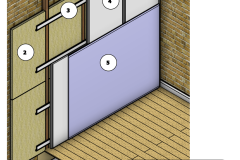
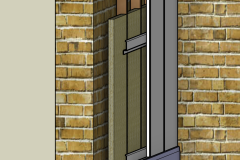
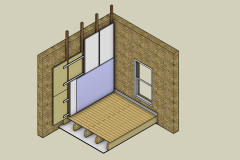
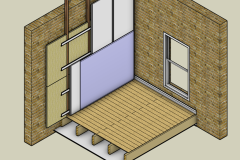
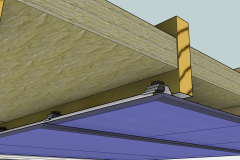
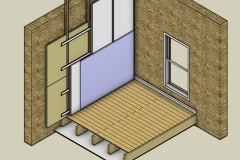
Batten walls can be applied to any wall structure. Typically, 2 x 2-inch batons are fastened to the wall which creates a 2-inch void to install acoustic mineral wool. Resilient bars are then installed on the batons, while the perimeter and all joints on the first layer of the board will be sealed with acoustic mastic.
| System | System Thickness | AIRBORNE PERFORMANCE (SRI) dB |
| Batten Wall System | +/-100mm or +/-4inches | 21db |
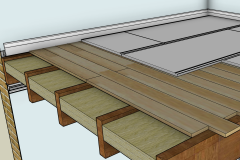
Click the images bellow to view full size image
Batten Wall FAQs
-
What is a batten wall?
Batten is the name given to the technique of applying battens to a wall.
They’re most commonly made of timber, though other materials have sometimes been used. Boards are fitted perfectly between the framework and can be made from various materials depending on the purpose.
Some battens are left exposed and painted over to create decorative panelling, otherwise, the spaces are filled and then covered with Plasterboard or MDF board.
-
How do you put battens on the wall?
Fixing a board and batten wall is a simple process if you enjoy a bit of DIY, but it does require careful and accurate measuring to achieve the desired effect.
Step 1 – Before you even think about fixing battens to the wall, make sure you plan out the spacing of your pieces, taking their width into account.
For decorative DIY projects, this is a matter of personal taste, but you’ll want to make sure the distances are equal to create a symmetrical design.
For insulation and soundproofing purposes the distance is dictated by the size of plasterboard you’re using. Fillings must be flush to the edges of each strip, so measurement is crucial at this stage.
Step 2 – Start by installing your upright battens. Measure the height of the wall and use a spirit level or laser level to ensure the wall is flat.
If it isn’t, wedges or packers may be needed to ensure the boards are perfectly upright. Start with the first piece of wood flush to the edge of the wall. Holding the batten in place from the ceiling, mark where your first screw will be.
It should be central to the brick NOT at the edge of the brick. Make holes of an equal distance down the timber, screw into place at the top and bottom first, then the middle screws can be secured.
The correct drill bit and other tools will depend on the kind of wall you’re drilling into. In some cases nails and grab adhesive will suffice.
Step 3 – The second upright batten should be distanced so that the edge of your board covering will sit right in the centre of the wood so that it can be shared with the next piece of board. Repeat the process along the width of the wall until all upright boards are in place.
Step 4 – Next, a base plate will be needed to run along the floor in between each set of upright battens. Depending on the height of the plasterboard you’re using, you’ll then need to affix horizontal boards between your upright ones that will also ensure the plaster edge sits in the middle of the batten.
This should be a snug fit between your two lateral pieces.
Step 5 – Repeat the same process for all horizontal battens until your wall is covered and ready for your insulation and panelling.
Tip! Plan ahead and think about how you will utilise your wall space. If you’re going to have a skirting board, extra batten boards can be used at the bottom of the wall to support this.
This could be an opportunity to use offcuts of your timber to reduce waste, as this would sit on top of the base layer and wouldn’t have to be flush to the upright boards.
Extra timber support should also be fixed where you might plan to have heavy fittings or light fixtures because the plasterboard would not support this if you decided to install something later on.
-
Why do people batten walls?
As previously mentioned, some batten a wall simply for decorative purposes. You can create a stunning focal point for your living room or an ambient feature wall in a bedroom without altering the construction of your space permanently.
Some people choose to board walls to create insulation, fight condensation or reduce noise. Adding an extra layer to your wall can also enable you to achieve a more interesting look to your space by creating recesses for lighting, or even televisions to fit flush inside the MDF.
-
How do you measure board and batten walls?
Any tradesmen will tell you to ‘cut once, measure twice.’ Getting your measurements accurate on paper is important because once the cuts are made there’s no going back.
You don’t need to be an artist to draw out your wall space perfectly, so long as you write out your measurements and then do them again to make sure your calculations are accurate.
So long as you frame the space by ensuring your timber pieces meet all the edges of the wall, the measurement and thickness of the inner boards will depend on the image you wish to achieve with your design or the size of DIY board you’re using.
-
What kind of wood do you use for board and batten walls?
Again, this depends on the purpose you’re using it for. for a decorative look, indoor plywood provides a smooth finish.
If you’re creating a pattern as a feature the wood will not be supporting anything but you might still choose structural plywood if you want to create a rustic effect.
If you’re going to board the wall, a little more consideration is needed for the type of wood. Is the area prone to damp weather? Will the wood be supporting much weight? Your local wood supplier should be able to help you with this.
Remember, they often provide a free cutting service too, so go there with all your measurements ready and double-checked to save on sawing time.
Lords Timber Merchants – 47mm x 50mm x 3m Treated Kiln Dried Sawn Timber
-
How much does a board and batten wall cost?
Although it might feel like a massive project to a DIY novice, it is a relatively cheap way to update your space or provide some much-needed insulation. It could also have an impact on your heating bills, saving you expenses in the long run.
Of course, the size of the surface you wish to cover will dictate the cost. Though materials are relatively cheap, if you think it is too big a project to take on yourself, labour contributes to around 60% of the cost if you choose to bring in the experts.
If you think this is the soundproofing solution you need but don’t fancy a trip to B&Q or Home Depot, please do get in touch with us on the number above or drop us an email for further information or a free quotation.
